Sunday, January 26, 2014

Warm Spell

As a Scandinavian car, of course a Volvo will have a fantastic heater. As a rotting 45 year old project, of course that heater won't work. You know the old joke - "when they built this car, they started with the heater and assembled the car around it!" - that joke certainly applies to the '92 240sx I replaced the heater core in a couple years back. The 1800 heater? Four bolts need to be pulled out. Sure it has challenges...
One bolt is easier with a gear wrench!

Really, I'd almost rather pull the heater core than change the oil. Detach a coupla doohickeys from the control box, pull out the hoses, remove the heater valve (since it's tied to the box and all), pull four bolts from the engine bay, pull out the heater box!
Watch for heater box trolls.

Reconstruction

With the hard part done, pull the halves apart. I cleaned them up in the spare bathtub (don't tell the lady!!) and gave them a generous coating of rust encapsulator and a topcoat. Since I was already this far in, figure it's a good time to pressure test. I don't know how the pros do it, but I rigged up something with bits and pieces around the garage...
Stick with what you know...

...And apparently, I know bicycle parts. So, here's how I built a quick and dirty pressure tester. Get an old bicycle tube (preferably a bad one). Cut a square around the valve stem and cut apart another square for the plug. Hose clamp the tube to the inlet and outlet pipes of the heater core. Attach the pump to the valve and pump it up to a modest 10 or 12 PSI. The non-valve side will puff up like a bulb. I let it sit, and it was several hours before noticing any pressure drop on the pump gauge. Good enough for me and my chintzy pressure tester!

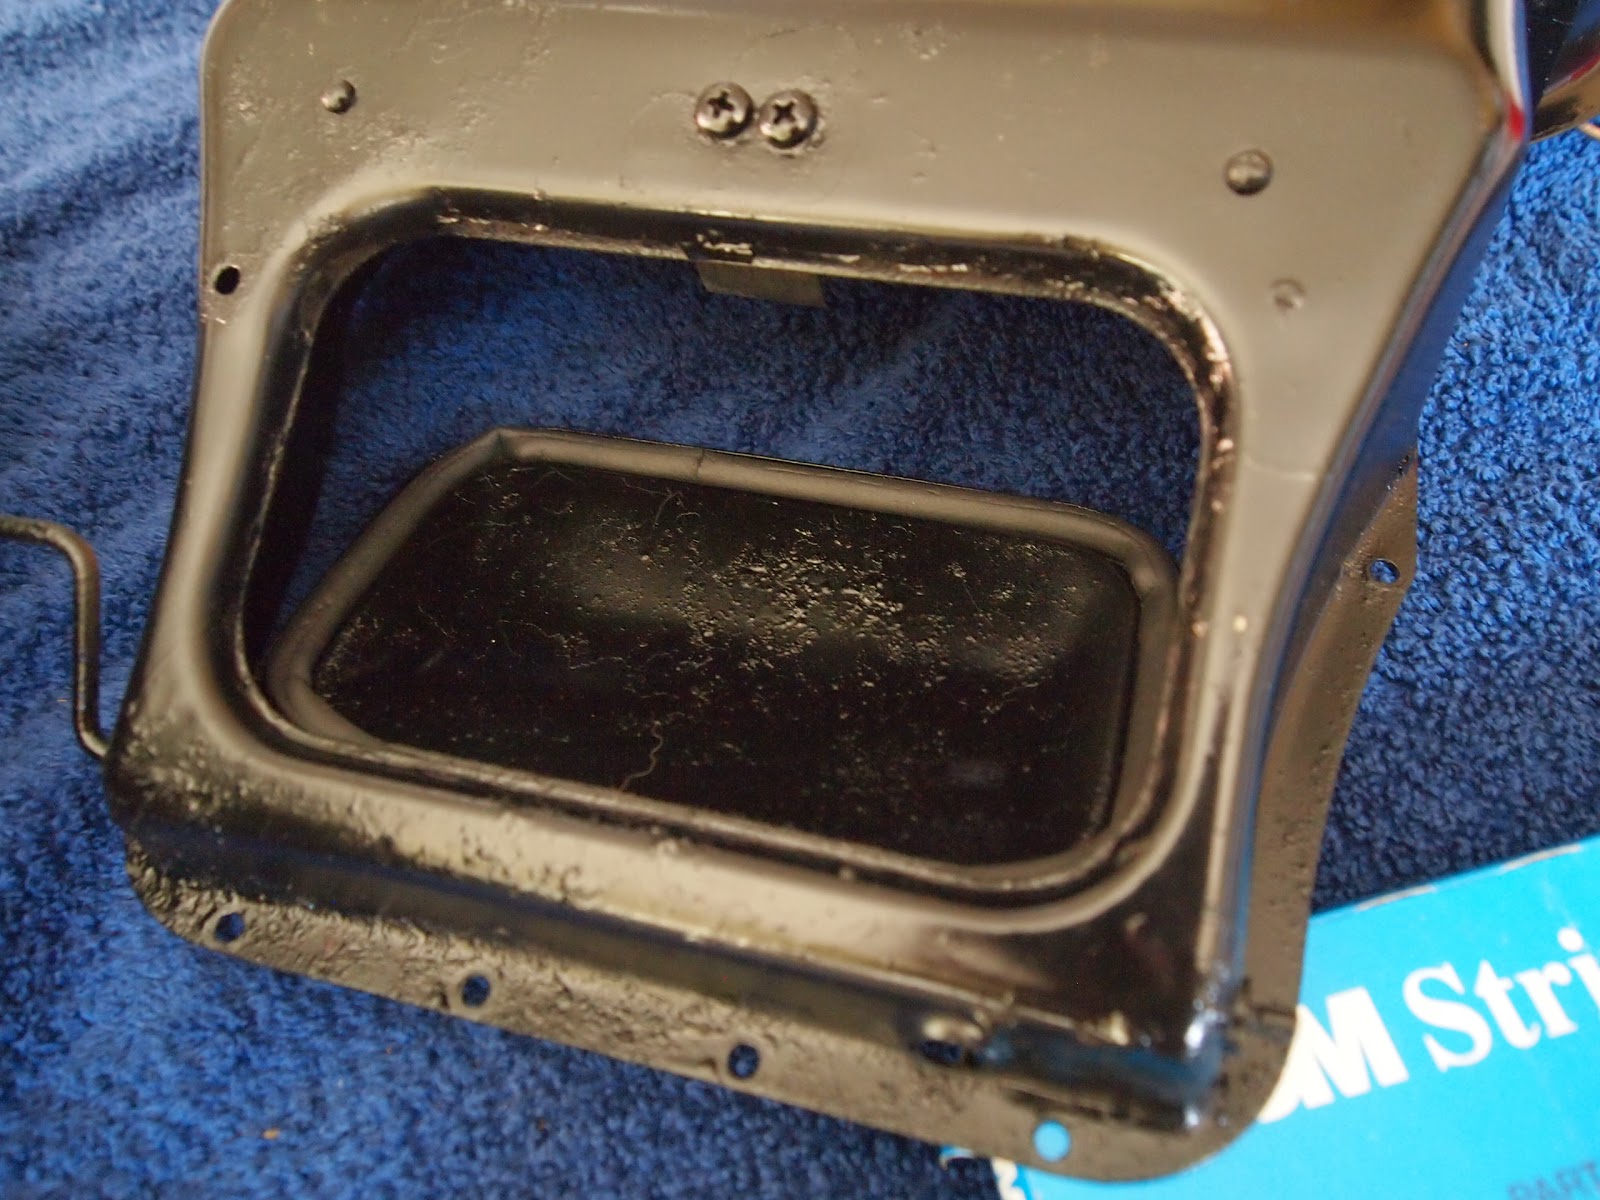
On to the rest of the rebuild! The heater box has the air intake at the top, right at the end of the blower. Air gets pushed through the heater core below that and to the two vents at the bottom. The vents are controlled by cable - one for the feet, one for the defroster vents. The vents had foam seals installed originally, and they're still available from the usual suspects, but I'm cheap and in a hurry. So, to Home Depot for some weatherstripping.

This Stuff

Goes here.

In retrospect... if you've got the time to wait for the delivery... Get the real stuff. The adhesive isn't terribly great when it gets strained going around the corners. It hasn't fallen off yet, I think. Maybe it has. I wouldn't know because I can't see it stuffed up there between the heater box and firewall. Also, as long as I don't inspect it, it's both falling off and staying in place simultaneously, and that's cool as hell. Just don't ask me the state of the cat I shoved in there...

About that fan..

The blower is a two speed fan built by Electrolux. Of course, it did not work as expected. Some gentle coaxing and desoldering of the brushes got the stator out for a gentle cleaning. Unfortunately, the only actual bearing is at the upper shaft. The fan blade is press fit on the shaft, and likely stuck there until the blade shatters into itty bitty shards. Despite a good soak in isopropyl alcohol and re-lubrication, there still seems to be too much drag for the fan to reliably spin on low speed. For now, I s'pose it's go big or go home. At least until I properly burn out the motor.
I hate my Volvo :(

After putting everything together and spinning up that space-ship sounding blower, we have glorious heat! Heat that smells an odd mix of paint fumes, old pennies, and ancient dust, but heat nonetheless! Blower fan is on the verge of failure, the heater valve that sometimes drools on my passenger's left foot, and the vent seals are probably already piled up on the floor behind the heater box. Still counts.

Tuesday, January 21, 2014

Bump in the Trunk

No, this isn't about the stereo. That comes later. Be patient. To follow that front suspension work showcased earlier, let's finish the job with a rear suspension overhaul! Up on the agenda today (or three weeks ago... writing blogs is so much more work than the car...) - rear bushings and anti-sway bar from IPD!
Don't you wish your computer was beige like mine?

 Step 1: Removal

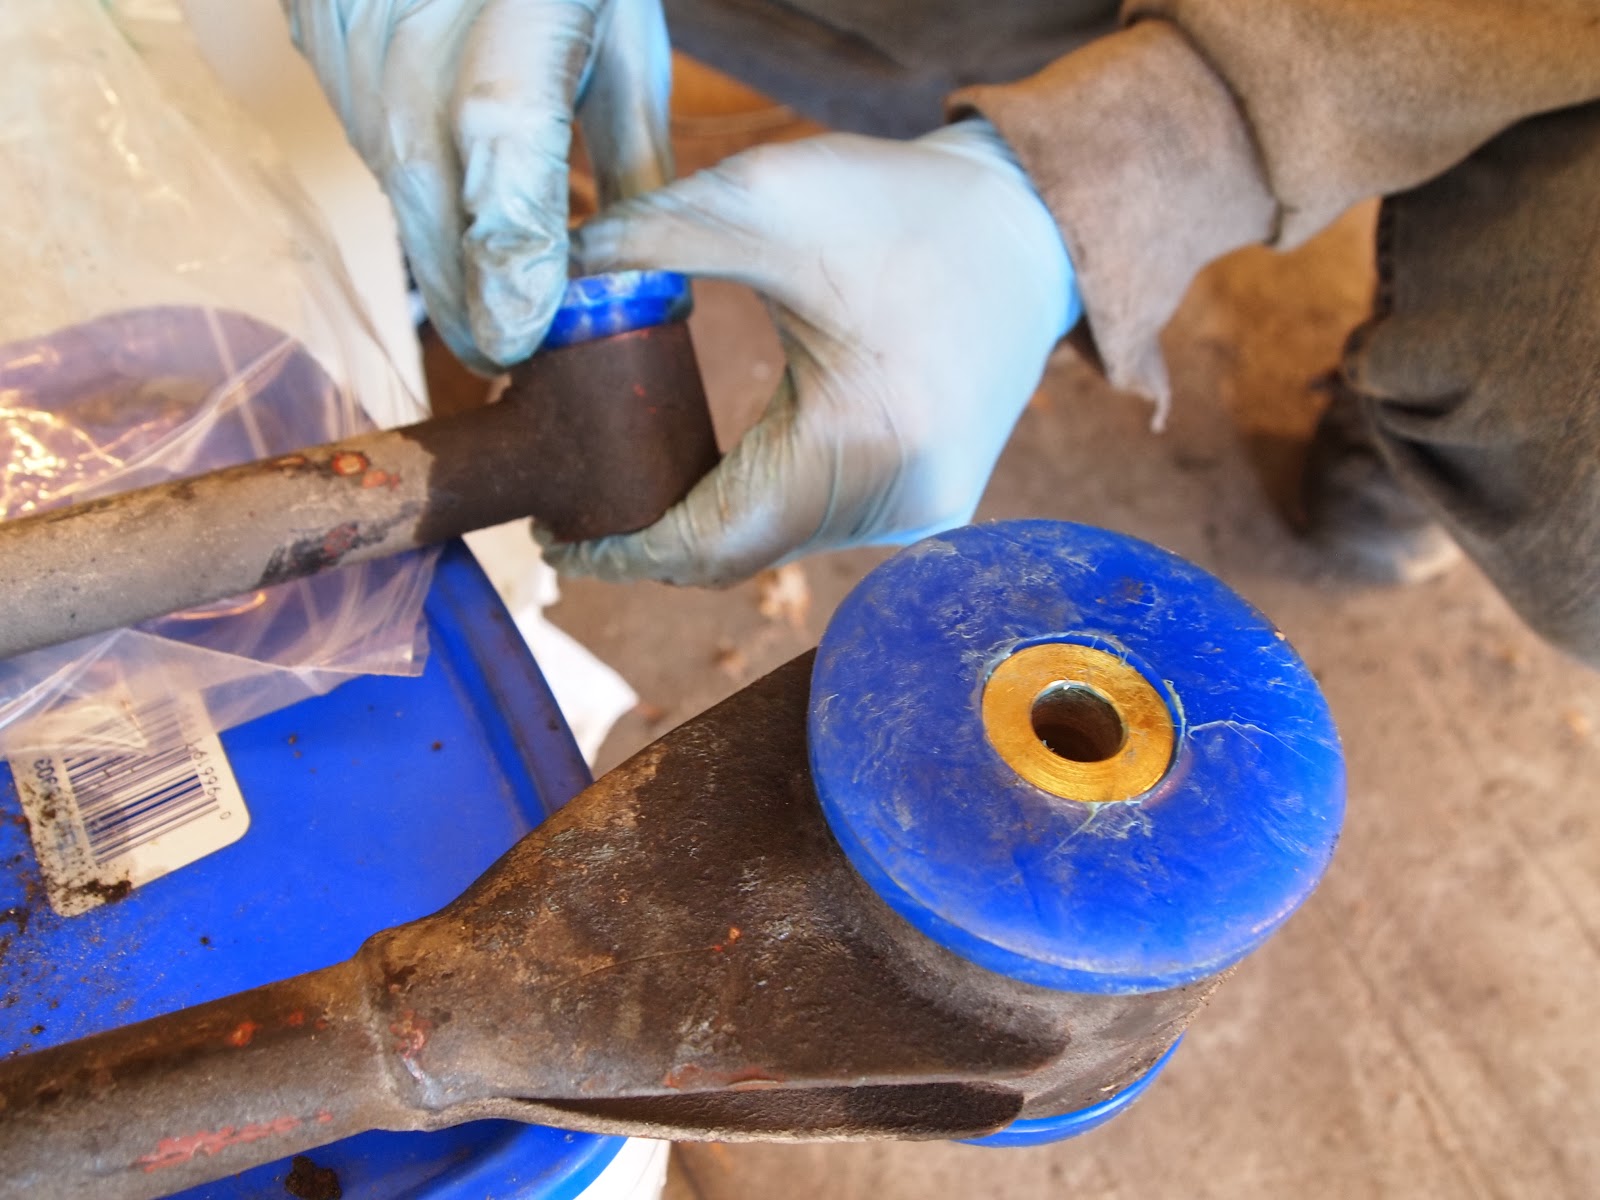
Getting the links out was really not too terrible. A shot of PB-Blaster if needed, perhaps some gentle coaxing with the breaker bar. Other than that, smooth sailing with a couple of ratchets. Except, of course, for the damned metal shell on the old bushing. Extracting the bushing itself is smooth enough: put a small-ish bit on the drill and let it walk it's way around the bushing, slowly pulling it out a bit at a time and leaving a nice empty hole with the old shell still in place, and only a handful of broken drill bits in the process. Oh, but about that shell? It's a bitch. My best advice: Take it to somebody who knows better than I do. I ended up taking a hacksaw to each of mine, then pounding them out with a variety of hammers, punches, and flat bladed screwdrivers. It worked, but at a cost of one rubber mallet, one flat bladed screwdriver, and one punch. You know how they say to use the right tool for the job? Listen to them. They are smart.
 Oh the humanity!

Step 2: Reinstallation:

Comparitively speaking, re-installation is trivial. Lube up the bushings, line them up roughly where they go, then beat them mercilessly with your new mallet (y'know, because you broke your old one...).

Shiny

Run the old bolts back through and torque em down. It's only rocket surgery in the sense that if you screw it up, a wheel or some other important piece will pop off while you cruise down the freeway. Also, since they're cheap, replace your axle limit straps.
 Only the best fabric straps for our integral suspension components!!

Step 3: Upgrayedds!

You're going through all this work anyway, so why not make things better!? Anti-sway bars are used in most vehicles on the road today for that very purpose: reduced tendency to sway from side to side while cornering. How they work is quite simple. A big beefy bar is bolted to the frame and attached to some point on the moving suspension bits on both sides - typically (as in this case) the lower A-arms. When you corner, weight is concentrated on the outside of the car, compressing the outer spring. The anti-sway bar transfers some of this force to compressing the spring on the inner wheel, reducing the amount the car body rolls on its suspension simply by lifting up on the inner wheel.

I put in a new rear anti-sway bar to go with that fatty front bar. Installation of the rear bar is not quite as trivial as the front - which consisted of unbolting the old one, bolting the new one in the same spot, then wondering why you waited so long to open the box. These cars originally had no provision for a rear anti-sway bar and it seems most folks that upgrade the front don't bother with the rears. My research, which consisted of several exhaustive minutes on Google, led me to the conclusion that installing the beefier front bar without the rear would lead to a better anti-sway characteristics, but also more tendency to understeer at the limits. Adding the rear bar should* (*I am no expert, this could be made up) give the car a bit more neutral handling when pushed. At the very least, it should make the rear end easier to break loose if we want to, and let's face it, we want to.
I got the blues... Do you?

I'm under the assumption that most folks skip installing the rear bars not because of the handling traits, but because installation is a bit more involved. Rather than simply bolting in the existing location, the rear bar is clamped to the rear axle and the end-links are attached to new holes you just drilled under your backseat. The set-up is opposite in that the the endlinks are fixed to the frame, rather than to the moving suspension components, but the overall effect is the same - forces pushing down on one side of the car will be spread across both sides, reducing the amount of roll experienced by the chassis.
Doin' some surgery

Next, we'll turn up the heat!