

One bolt is easier with a gear wrench!
Really, I'd almost rather pull the heater core than change the oil. Detach a coupla doohickeys from the control box, pull out the hoses, remove the heater valve (since it's tied to the box and all), pull four bolts from the engine bay, pull out the heater box!

Watch for heater box trolls.
Reconstruction
With the hard part done, pull the halves apart. I cleaned them up in the spare bathtub (don't tell the lady!!) and gave them a generous coating of rust encapsulator and a topcoat. Since I was already this far in, figure it's a good time to pressure test. I don't know how the pros do it, but I rigged up something with bits and pieces around the garage...
Stick with what you know...
...And apparently, I know bicycle parts. So, here's how I built a quick and dirty pressure tester. Get an old bicycle tube (preferably a bad one). Cut a square around the valve stem and cut apart another square for the plug. Hose clamp the tube to the inlet and outlet pipes of the heater core. Attach the pump to the valve and pump it up to a modest 10 or 12 PSI. The non-valve side will puff up like a bulb. I let it sit, and it was several hours before noticing any pressure drop on the pump gauge. Good enough for me and my chintzy pressure tester!
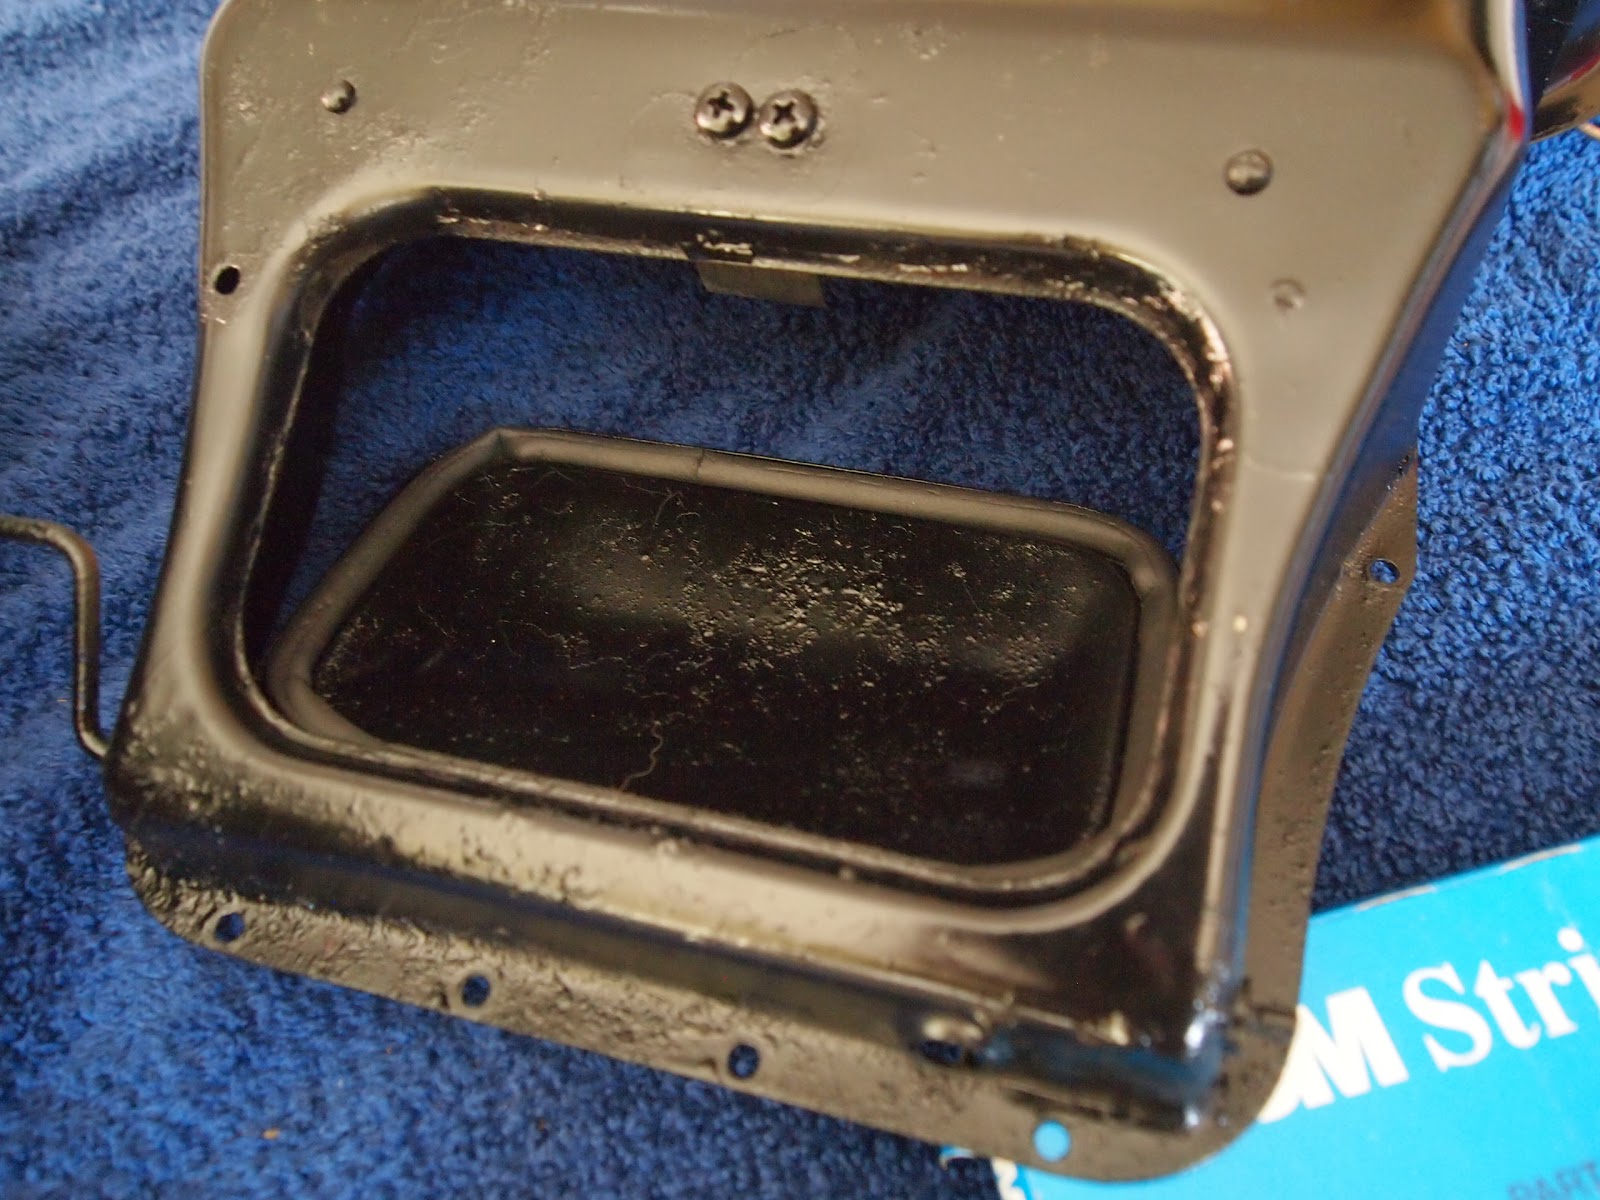
On to the rest of the rebuild! The heater box has the air intake at the top, right at the end of the blower. Air gets pushed through the heater core below that and to the two vents at the bottom. The vents are controlled by cable - one for the feet, one for the defroster vents. The vents had foam seals installed originally, and they're still available from the usual suspects, but I'm cheap and in a hurry. So, to Home Depot for some weatherstripping.

This Stuff
Goes here.
In retrospect... if you've got the time to wait for the delivery... Get the real stuff. The adhesive isn't terribly great when it gets strained going around the corners. It hasn't fallen off yet, I think. Maybe it has. I wouldn't know because I can't see it stuffed up there between the heater box and firewall. Also, as long as I don't inspect it, it's both falling off and staying in place simultaneously, and that's cool as hell. Just don't ask me the state of the cat I shoved in there...
About that fan..
The blower is a two speed fan built by Electrolux. Of course, it did not work as expected. Some gentle coaxing and desoldering of the brushes got the stator out for a gentle cleaning. Unfortunately, the only actual bearing is at the upper shaft. The fan blade is press fit on the shaft, and likely stuck there until the blade shatters into itty bitty shards. Despite a good soak in isopropyl alcohol and re-lubrication, there still seems to be too much drag for the fan to reliably spin on low speed. For now, I s'pose it's go big or go home. At least until I properly burn out the motor.
I hate my Volvo :(
After putting everything together and spinning up that space-ship sounding blower, we have glorious heat! Heat that smells an odd mix of paint fumes, old pennies, and ancient dust, but heat nonetheless! Blower fan is on the verge of failure, the heater valve that sometimes drools on my passenger's left foot, and the vent seals are probably already piled up on the floor behind the heater box. Still counts.
No comments:
Post a Comment